Colour Research Vol.1
Turning Old into New - Vintage
Interview with Carmen Rubinacci
Today, we are dealing with a completely different topic. How do I create the vintage look? We talked to architect and colour designer Carmen Rubinacci from the ColorDesignStudio. The scene was her kitchen dating from 1981. From the classic country house kitchen in rustic oak to the classic in vintage look:
How did you come up with the idea of giving your kitchen a vintage look?
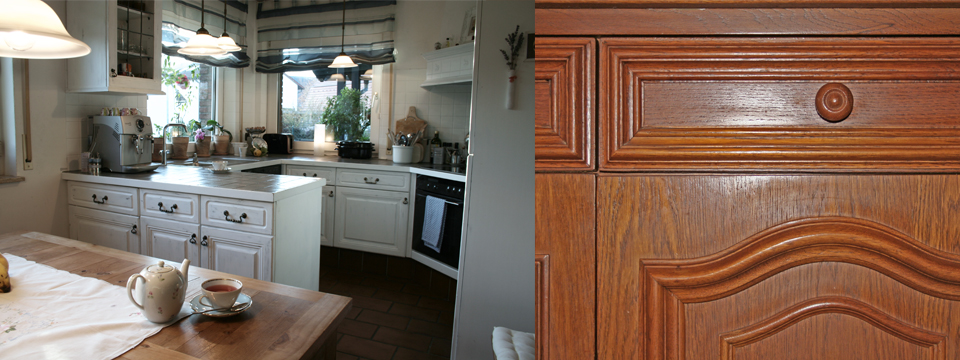
I inherited the kitchen from my mother. She had this solid wooden kitchen built to fit perfectly into the room. Apart from a few signs of usage, everything in this kitchen is still fully functional. So I asked myself the question, do I want to invest in a new, expensive kitchen or do I take over the well-preserved one from the past and take it to the present?
Sustainability played a major role in my decision. And the idea that I wanted to have a unique product and not a standard "run-of-the-mill" kitchen. Thus the idea emerged to leave the kitchen as it was and "only" treat the surfaces. A vintage look can be wonderfully combined with a country house kitchen and perfectly matches my furnishings. I chose white because it is in total contrast to the previous situation and makes the shabby look particularly easy to implement.
How did you create the vintage look?
I closely coordinated the implementation with my colleague Sabine Hoffner, also a colour designer, but also a master painter.
The whole kitchen was washed with an industrial cleaner. Then I roughened all surfaces with 80 grit sandpaper and sanded them again with 150 grit paper. The priming was an application with Capacryl Holz-IsoGrund. Afterwards, I have varnished all surfaces twice with Capacryl PU-Satin. A paintbrush and a matching small roller were used for varnishing. Afterwards I remounted everything.
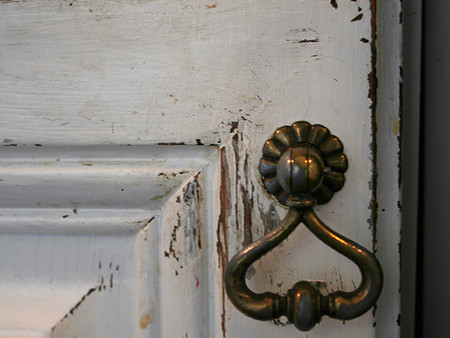
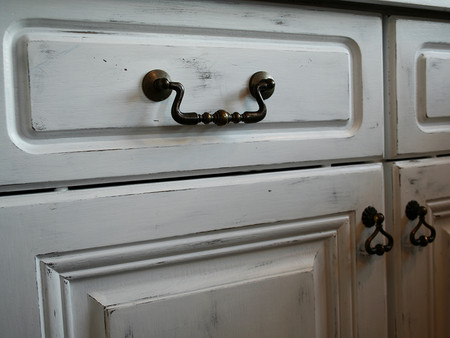
Then I was finally able to create the vintage look. For this I used 80 grit paper - but without a sanding block, in order to have a better feeling when breaking the corners and edges. I deliberately emphasised wear marks under handles and the like and worked them out with grit paper. I did not sand as much on large smooth surfaces as on the edges. I find it very important to only do the final sanding when everything is reassembled. This is the only way to keep an eye on the overall harmonious impression.
To make the vintage look perfect, I knocked out the crown glass from the wall cupboard and left only the lead bars.
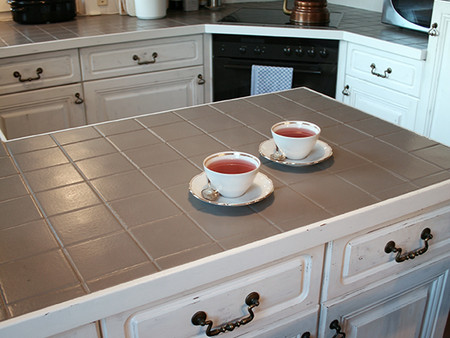
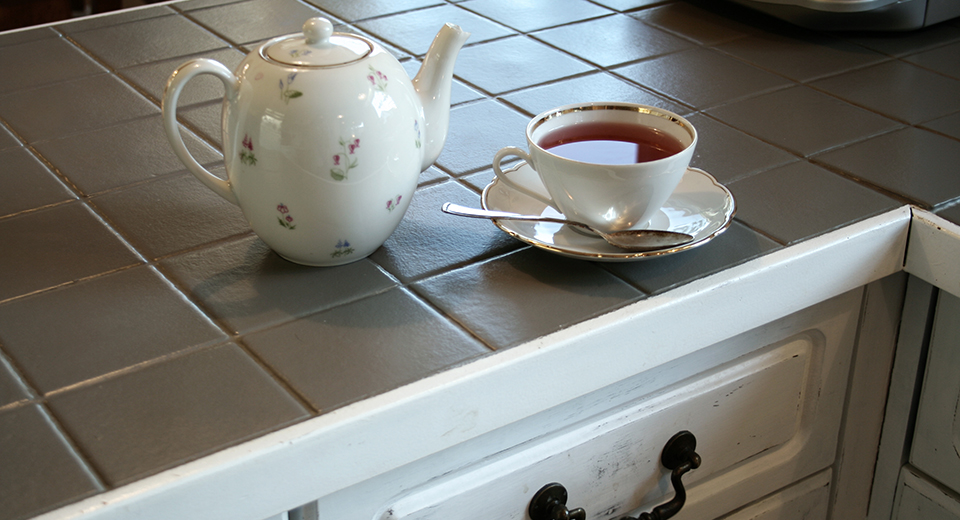
How did you deal with the existing tiles?
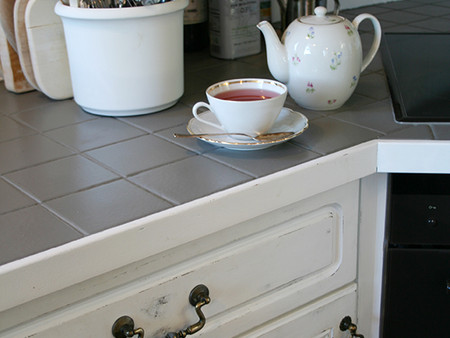
The rear walls and the worktop of my kitchen were completely tiled. I wanted to preserve these tiles. Caparol products were used for this purpose. The worktop is finished in 3D Agave 5 and the wall tiles are white.
How satisfied are you with the result?
For me, the design was definitely successful. With the white varnish I created a friendly, bright atmosphere. Thanks to the vintage look, the old oak fronts look deliberately installed and by no means like an out-of-date relic from the past. And: it is unique.